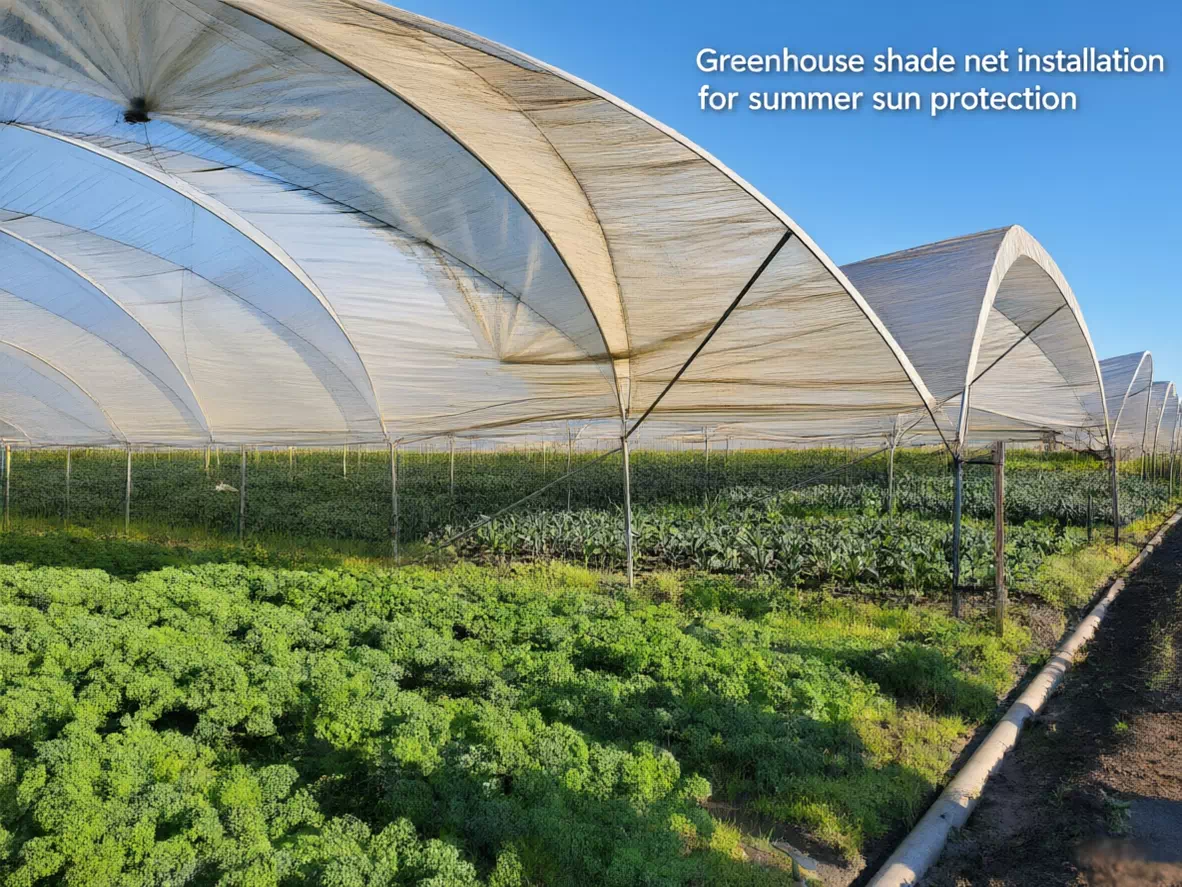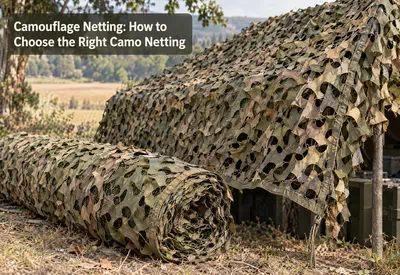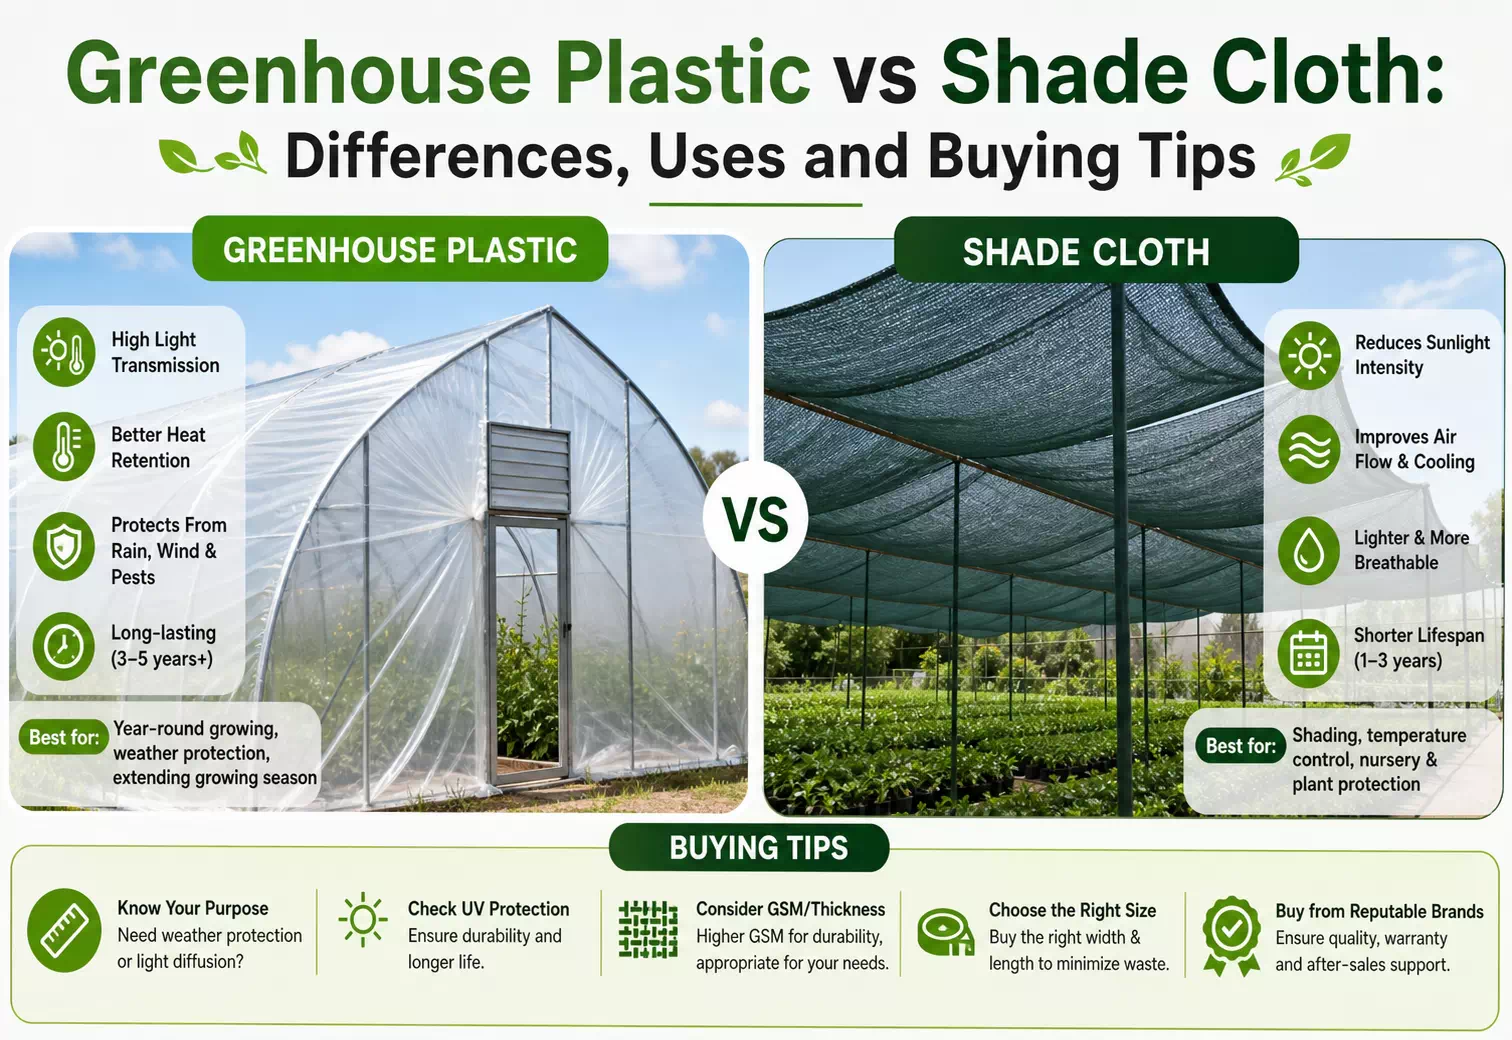
As summer temperatures approach, greenhouse growers are increasingly preparing their structures for stronger sunlight and rising indoor temperatures. Installing a greenhouse shade net before peak heat arrives can help manage excessive solar radiation, reduce heat buildup and create more suitable growing conditions. However, proper shade net installation on greenhouse structures is just as important as choosing the right material.
For greenhouse operators, small-scale farmers and home gardeners, a poorly installed shade net may cause uneven shading, restricted airflow or damage during windy weather. This practical greenhouse shade net installation guide explains how to prepare the structure, select suitable fixing accessories and install shade netting correctly while avoiding common mistakes.
Step-by-Step Guide to Greenhouse Shade Net Installation
Step 1: Inspect the Greenhouse Structure and Measure the Area
Before learning how to install shade net on greenhouse structures, start by inspecting the supporting frame.
Check the roof frame, side supports, pipes, beams and existing fixing points for corrosion, loose connections or visible damage. Measure the greenhouse roof and the sections where shade coverage is required.
For irregular greenhouse structures, measure each section separately rather than relying on a single overall measurement.
Why it matters: Accurate measurements help prevent gaps, excessive overlapping and unnecessary material waste.
Installation tip: Allow extra material for edge fastening and adjustments. Avoid attaching the net to weak glazing bars or components that are not designed to carry additional loads.
For growers planning a complete greenhouse shading system, selecting suitable greenhouse shade nets is an important first step.
Step 2: Choose the Right Shade Net
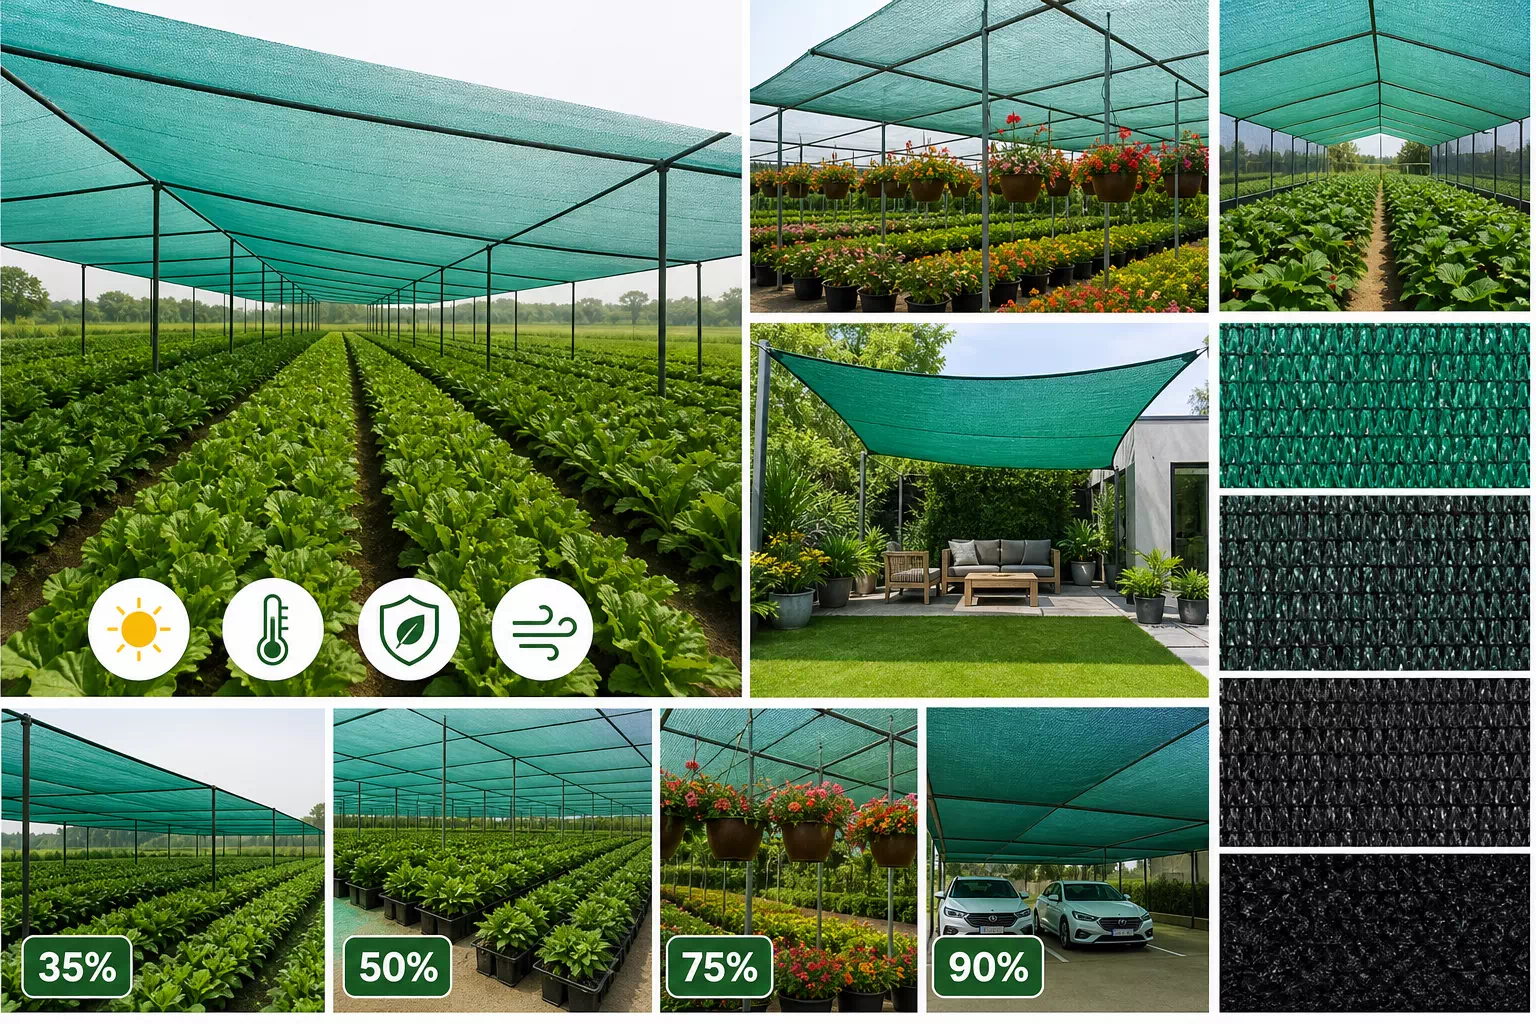
Different crops and growing environments require different shading levels. Before purchasing a greenhouse shade net, consider crop requirements, local sunlight intensity, greenhouse orientation and seasonal temperatures.
For example, leafy vegetables and shade-sensitive seedlings may benefit from different shading conditions than sun-loving crops.
Common shade net options include:
Light shading: Suitable where plants need protection from intense midday sunlight while retaining substantial natural light.
Medium shading: A practical option for many general greenhouse growing applications.
Heavy shading: More suitable for crops or environments requiring greater protection from direct sunlight.
The actual shade percentage should be selected according to crop requirements rather than assuming that higher shading is always better.
Why it matters: Excessive shading can reduce photosynthesis and affect plant development, while insufficient shading may not provide adequate protection during hot weather.
Installation tip: Check the manufacturer's stated shade percentage, material, UV resistance and intended application before installation.
Step 3: Prepare the Installation Tools and Accessories
Having the correct tools and fixing accessories ready can make installation easier and more consistent.
Depending on the greenhouse design and shade net material, you may need:
Measuring tape
Scissors or a suitable cutting tool
UV-resistant shade net clips
Outdoor-grade cable ties
Fixing rope or elastic bungee cords
Supporting wires or cables
Gloves and a stable ladder
For greenhouse structures with dedicated fixing channels, compatible locking profiles or wiggle wire systems may also be used.
Why it matters: Using suitable accessories helps distribute tension across the net and reduces the risk of tearing around individual attachment points.
Installation tip: Avoid ordinary indoor cable ties or sharp metal fasteners that may deteriorate outdoors or damage the netting.
For a more secure setup, growers can also explore suitable shade net clips and fixing accessories designed for outdoor installation.
Step 4: Determine the Installation Position
Shade nets can be installed externally over the greenhouse roof, along the sides or inside the structure.
External installation is commonly used to intercept sunlight before it reaches the greenhouse covering. Internal installation may be more convenient for certain structures and seasonal applications, although it does not prevent sunlight from entering the greenhouse first.
Consider the direction of sunlight, prevailing winds, roof shape and ventilation openings when choosing the installation position.
Why it matters: Correct positioning helps achieve more consistent shading without interfering with doors, vents or other greenhouse equipment.
Installation tip: Keep ventilation openings and side vents accessible. If the net is installed externally, ensure that it does not obstruct roof vents or prevent their normal operation.
An effective shading arrangement should work alongside properly designed greenhouse ventilation systems to support air circulation and temperature management.
Step 5: Unroll and Position the Shade Net
Lay the shade net over the intended area and gradually unfold it along the greenhouse frame.
For larger greenhouses, having two people handle the material can make alignment easier. Begin at one end and move toward the opposite side, checking that the net covers the intended area evenly.
Do not pull the material aggressively or drag it across sharp frame edges.
Why it matters: Correct positioning prevents uneven coverage, twisted edges and unnecessary stress during fastening.
Installation tip: Leave sufficient material at the edges for secure attachment. If multiple net sections are required, plan their overlap according to the manufacturer's recommendations.
Step 6: Secure the Edges and Intermediate Points
Once the shade net is aligned, begin fastening it to the supporting structure.
Several greenhouse shade net fixing methods are commonly used:
Shade net clips: Attach the clips along suitable structural supports to hold the fabric in place.
UV-resistant cable ties: Useful for securing netting to compatible frame members, provided the ties do not cut into the material.
Fixing ropes or bungee cords: Help secure edges and allow some flexibility when conditions change.
Wiggle wire systems: Suitable for greenhouse structures equipped with compatible channels.
Start by securing the corners and main edges. Then add intermediate fixing points at suitable intervals to distribute the load.
Why it matters: Relying only on corner attachments can allow the net to flap, shift or develop concentrated stress points during windy conditions.
Installation tip: Follow the fixing accessory manufacturer's spacing recommendations. Keep knots, clips and fasteners away from areas where they could damage the greenhouse covering.
If you are considering how to secure shade cloth on a greenhouse, remember that evenly distributed fixing points are generally more reliable than fastening only the corners.
For additional installation options, see our greenhouse shade net fixing accessories.
Step 7: Adjust Tension and Preserve Ventilation
After fastening the net, check its overall tension.
The shade net should be evenly supported, without large sagging sections or excessive stretching. A slightly flexible installation is generally preferable to pulling the material extremely tight.
Check the edges, roof sections and connection points for wrinkles or loose areas.
Most importantly, preserve the greenhouse's ventilation arrangements. Leave the required clearance around ridge vents, side vents, doors and other openings. Where a removable or adjustable system is used, confirm that the net can move without obstructing ventilation.
Why it matters: Excessive tension can increase stress on the net and supporting frame, while loose sections may flap in the wind and wear prematurely.
Installation tip: A properly installed net should remain stable while allowing the greenhouse ventilation system to function as intended.
Step 8: Inspect the Installation and Establish a Maintenance Routine
Before considering the job complete, inspect the entire installation.
Check whether all clips and ties are secure, whether the net covers the intended growing area and whether any edges are rubbing against sharp surfaces.
After the first windy day, inspect the fastening points again. Continue checking the net periodically throughout the growing season, particularly after severe weather.
Remove accumulated leaves and debris where necessary, and repair small tears before they become larger problems.
Why it matters: Regular inspections help identify loose connections and material wear before they affect the entire installation.
Installation tip: Keep spare clips and compatible repair materials available for routine maintenance.
Common Greenhouse Shade Net Installation Mistakes
Even a good-quality shade net may not perform as expected if installation details are overlooked. Understanding common greenhouse shade net installation mistakes can help growers avoid unnecessary repairs and improve the reliability of their shading systems.
1. Choosing an Unsuitable Shading Percentage
Mistake: Selecting a net based only on its advertised shade percentage.
Consequence: Too much shade may reduce available light, while too little may provide inadequate protection.
Better approach: Match the shading level to crop requirements, local climate and seasonal conditions.
2. Measuring the Greenhouse Incorrectly
Mistake: Measuring only the roof length without considering the frame shape and fixing allowance.
Consequence: The net may leave uncovered areas or lack enough material for secure fastening.
Better approach: Measure each installation section and account for edge attachment requirements.
3. Using Too Few Fixing Points
Mistake: Attaching the net only at the four corners.
Consequence: The material may flap in the wind, shift position or develop localized damage.
Better approach: Distribute fixing points along the edges and intermediate supports.
4. Pulling the Net Too Tightly
Mistake: Stretching the shade net as tightly as possible.
Consequence: Excessive tension may damage the fabric, clips or greenhouse frame.
Better approach: Maintain even, moderate tension while allowing some flexibility.
5. Blocking Ventilation Openings
Mistake: Covering roof vents, side vents or access openings without considering airflow.
Consequence: Ventilation may become less effective, potentially contributing to excessive heat and humidity.
Better approach: Plan the net layout around existing ventilation systems and maintain the necessary clearance.
6. Ignoring Weather Conditions and Maintenance
Mistake: Installing the net during strong winds or leaving loose connections unchecked.
Consequence: Wind movement can cause tearing, loosen fasteners or place additional stress on the greenhouse structure.
Better approach: Install in calm weather, inspect connections regularly and follow the structure manufacturer's guidance for wind loading.
Preparing Your Greenhouse for the Hot Season
As warmer weather approaches, installing a shade net is a practical part of greenhouse preparation. However, successful shade net installation on greenhouse structures involves more than simply covering the roof. Accurate measurements, suitable fixing accessories, balanced tension and unobstructed ventilation all contribute to a more reliable shading system.
Growers should also review their shade net's UV resistance, material quality, shade percentage and compatibility with their greenhouse structure before purchasing.
Whether you manage a commercial greenhouse, operate a small farm or maintain a backyard growing space, choosing suitable shade netting and installing it correctly can make seasonal greenhouse management easier.
Explore our shade net products for greenhouse and outdoor growing applications to find a suitable option for your coverage requirements and local growing conditions.
FAQ
1. How do you install a shade net on a greenhouse?
Measure the greenhouse, select a suitable shade net, prepare the fixing accessories, position the net and secure it along the edges and intermediate supports. Adjust the tension evenly and ensure ventilation openings remain accessible.
2. Should a greenhouse shade net be installed inside or outside?
External installation helps intercept sunlight before it reaches the greenhouse covering. Internal installation may be suitable for certain structures and applications. The best option depends on greenhouse design, ventilation requirements and growing conditions.
3. How tight should a greenhouse shade net be?
A shade net should be evenly supported without excessive stretching or large sagging sections. Moderate tension helps reduce unnecessary stress on the material and fixing points while allowing some flexibility.
4. What percentage shade net is best for a greenhouse?
There is no single ideal shade percentage for every greenhouse. The appropriate level depends on the crop, local climate, sunlight intensity and growing season. Always check crop-specific light requirements before selecting a product.
5. How do you secure shade cloth on a greenhouse?
Common fixing methods include UV-resistant shade net clips, outdoor-grade cable ties, fixing ropes, bungee cords and compatible wiggle wire systems. Select accessories suitable for the greenhouse frame and distribute attachment points evenly.