
Introduction
Artificial turf installation may look straightforward from a distance, but achieving a smooth, durable, and professional-looking field requires a clear understanding of each construction step. Generally, the process can be divided into four major phases—cleaning, measuring, cutting, and bonding—but the actual workflow varies depending on whether you are using sand-free turf or sand-filled turf.
Sand-free turf, often used in landscape areas, school playgrounds, and kindergartens, follows a simpler process since it does not require infill materials. Sand-filled turf, commonly found in soccer fields and sports venues, involves additional steps such as quartz sand and rubber granule filling to enhance shock absorption and stability.
Below is a detailed walkthrough of how artificial turf construction typically unfolds.
Preparing the Turf and the Site
Before any installation begins, proper preparation ensures the turf performs well over time. One often overlooked but essential step is allowing the turf to “relax.”
If weather conditions are favorable—meaning no rain—the rolled turf should be fully unrolled and spread out across the ground for 1–2 days. This allows the artificial grass fibers to stand upright naturally as heat helps them regain shape. This step is especially important for sand-filled fields because upright fibers make later infill work smoother and more uniform.
At the same time, teams should study the layout plan carefully. Most artificial turf manufacturers provide a design drawing that specifies line positions and turf direction. Installers will typically adjust the layout based on the actual field dimensions, keeping errors within ±5 mm. Since turf rolls are commonly 4 meters wide, measuring and planning the cutting paths are crucial to avoid unnecessary seams and material waste.
Laying and Bonding the Artificial Turf
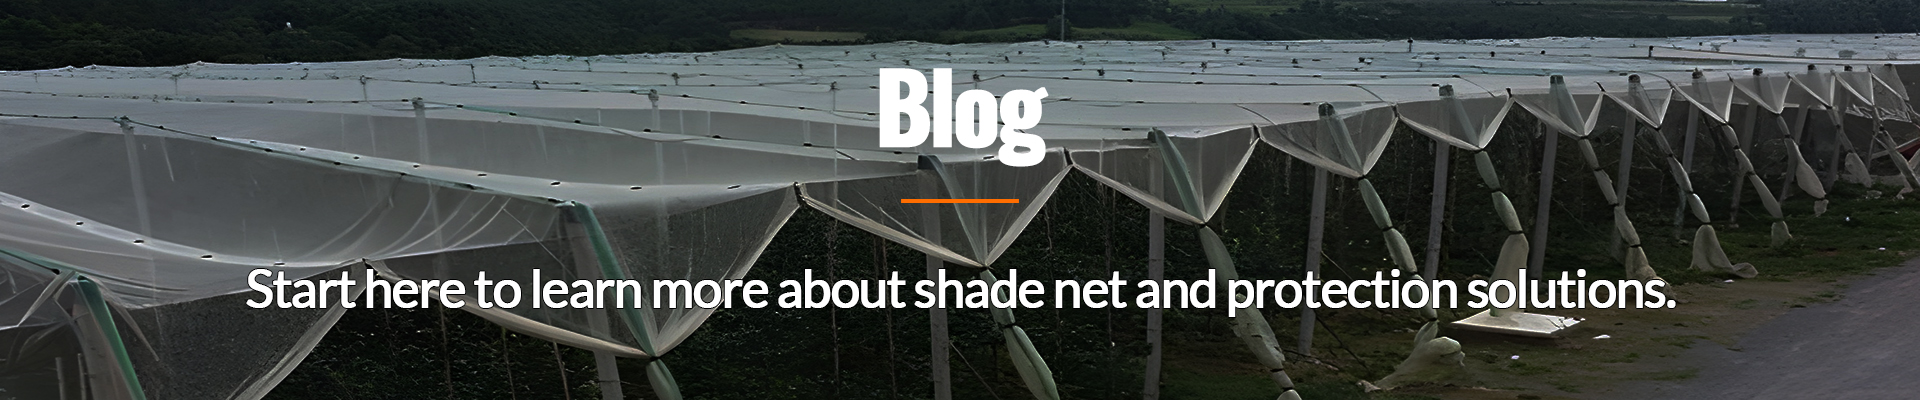
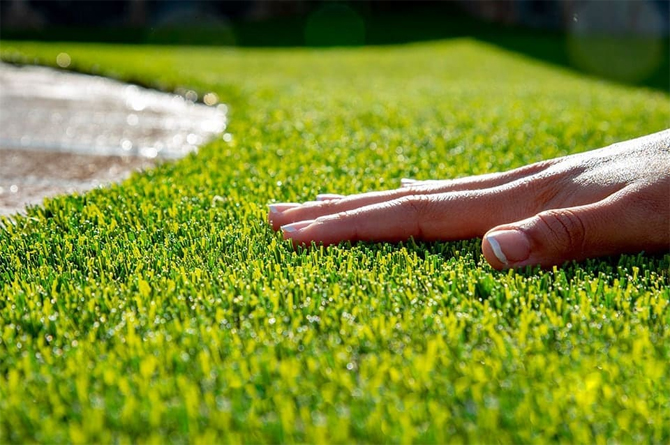
Once planning is complete, the turf can be positioned and trimmed according to the field layout. Bonding is the most technical part of the installation, and using specialized artificial turf adhesive is strongly recommended for durability.
The adhesive must reach a semi-dry condition—no longer sticky to the touch—before bonding the turf strips together. Bonding too early weakens the joint, and once the turf is fixed incorrectly, it becomes difficult to repair cleanly. After bonding, the seams must be checked to ensure they sit flat, tight, and level. Any raised edges or gaps should be corrected immediately before moving on.
For no-sand playgrounds or landscape lawns, the project is essentially complete at this stage. But for sports applications, especially soccer fields, the installation continues with infill.
Filling the Field: Quartz Sand and Rubber Granules
A sand-filled artificial turf system relies on precise infill distribution to achieve optimal performance. The infill process usually unfolds in two layers.
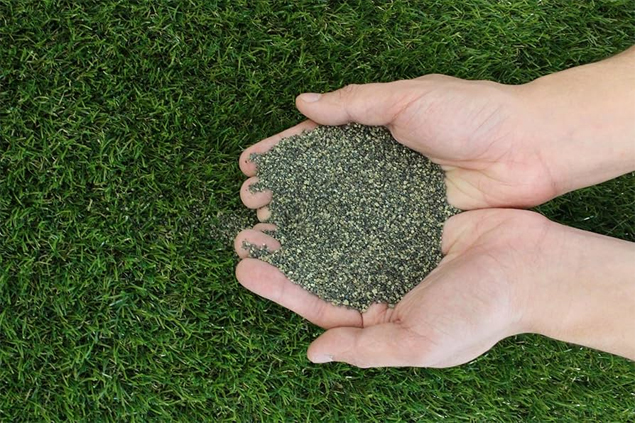
Quartz Sand Filling
The first layer consists of quartz sand, typically between 20–40 mesh for soccer fields. The goal is not only to add weight but also to improve the turf’s stability and fiber support. Both the turf surface and the sand must remain dry during this step; moisture can cause uneven settling and clumping. Sand should be spread at a consistent speed to ensure uniform density across the entire field.
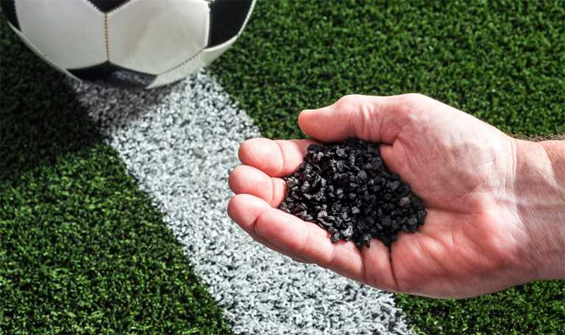
Rubber Granule Filling
Once the sand layer is complete, rubber granules are added. Their quantity depends on turf height and density. After filling, the surface is brushed repeatedly to help the granules settle into the turf and distribute evenly. Any excess is removed, while low-spots receive additional granules until the entire field appears flat and leveled.
Importantly, the combined height of sand and granules must stay below the tip of the turf fibers. This ensures the field maintains a natural green appearance while providing comfortable cushioning.
Final Acceptance Standards
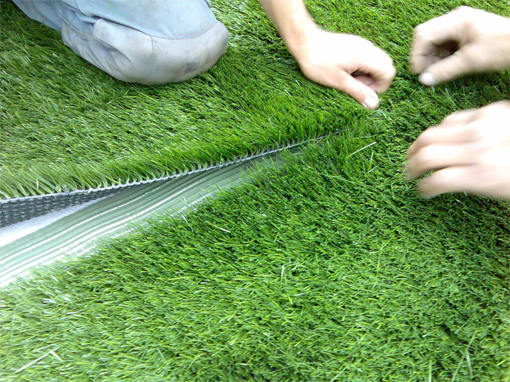
A properly completed artificial turf field should reveal 10–15 mm of exposed grass fibers above the infill. This ensures good resilience underfoot, realistic ball roll, and long-term field durability. If any inconsistencies or uneven areas are found, they should be corrected immediately before the field is put into use.


